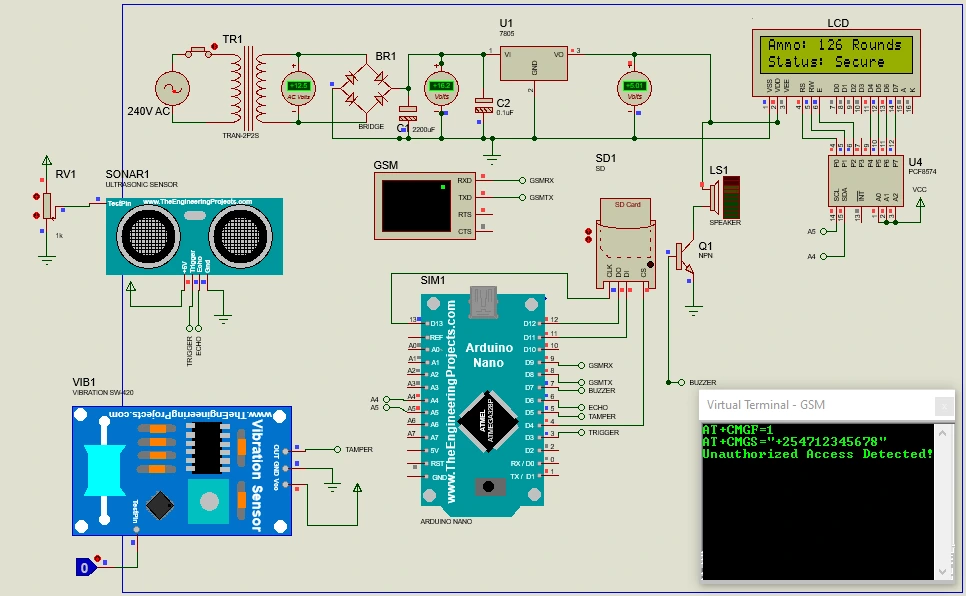
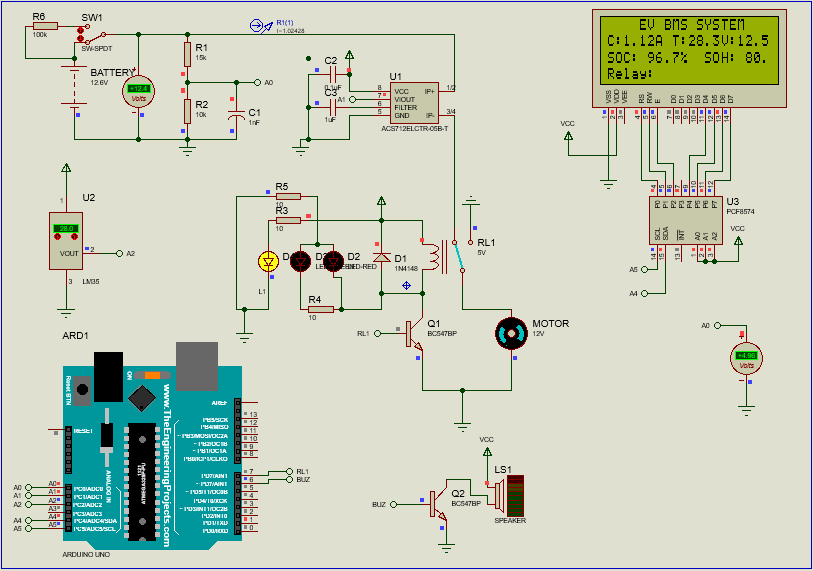
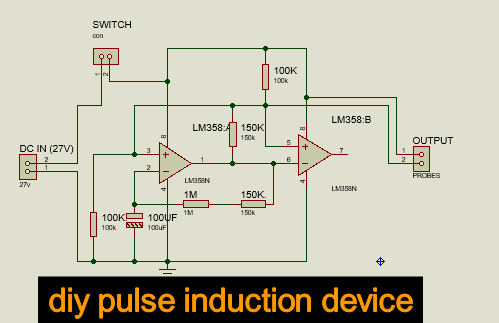
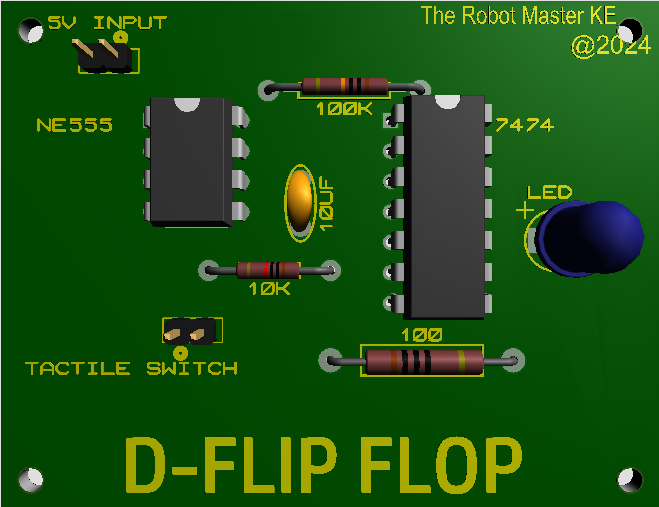
Proteus is one of the most popular software tools for circuit design, simulation, and PCB layout. Whether you’re a hobbyist, student, or professional, Proteus offers a wide range of components to help you bring your electronic designs to life. However, sometimes you may need to add custom or external libraries to access specific components not available in the default library.
In this blog post, we’ll walk you through the process of how to add a library to Proteus, ensuring your designs have all the components you need. Plus, we’ll share some SEO-optimized tips to help you get the most out of this guide.
Why Add a Library to Proteus?
Before diving into the steps, let’s understand why adding a library to Proteus is essential:
- Access to Custom Components: Add components specific to your project.
- Expand Functionality: Use third-party libraries for sensors, microcontrollers, or other specialized parts.
- Save Time: Avoid recreating components from scratch.
Now, let’s get started!
Step-by-Step Guide to Add a Library to Proteus
Step 1: Download the Library File
The first step is to obtain the library file you want to add. Libraries for Proteus typically come in one of the following formats:
- .LIB (Library file)
- .IDX (Index file)
You can download libraries from trusted sources like:
- Manufacturer websites
- Online forums (e.g., Electro Tech Online, EDAboard)
- Community-driven platforms like GitHub
Pro Tip: Always ensure the library is compatible with your version of Proteus to avoid errors.
Step 2: Locate the Proteus Library Folder
To add the library, you need to place the files in the correct folder. Here’s how to find it:
- Open Proteus on your computer.
- Go to the Library menu and select Library Manager.
- Note the library path displayed at the bottom of the window.
- The default path is usually:CopyC:\Program Files (x86)\Labcenter Electronics\Proteus 8 Professional\DATA\LIBRARY
Step 3: Copy the Library Files
- Navigate to the folder where you downloaded the library files.
- Copy the.LIB and .IDX files.
- Paste them into the Proteus LIBRARY folder you located in Step 2.
Step 4: Update the Library in Proteus
- Open Proteus and go to the Library Manager again.
- Click on the Update button to refresh the library list.
- Search for the newly added components using the search bar.
Step 5: Verify the Library Installation
To ensure the library was added successfully:
- Create a new project or open an existing one.
- Try placing the new component from the library into your schematic.
- If the component appears and functions correctly, the library has been successfully added.
Troubleshooting Common Issues
- Component Not Found: Double-check the library path and ensure the files are in the correct folder.
- Compatibility Issues: Ensure the library is compatible with your version of Proteus.
- Corrupted Files: Re-download the library from a trusted source.
Best Practices for Managing Proteus Libraries
- Organize Your Libraries: Create separate folders for custom libraries to avoid clutter.
- Backup Your Libraries: Regularly back up your library files to prevent data loss.
- Stay Updated: Keep your Proteus software updated to ensure compatibility with newer libraries.
Conclusion
Adding a library to Proteus is a simple yet powerful way to expand your design capabilities. Following the steps outlined in this guide, you can easily integrate custom or third-party libraries into your projects. Whether working on a school assignment or a professional PCB design, having the right components at your fingertips is crucial.
If you found this guide helpful, don’t forget to share it with your friends and colleagues. For more tips and tutorials on Proteus and electronics design, subscribe to our blog and stay tuned!


Leave a Reply